Peach Jam Recipe
Summer in Sorrento is also FRESH Fruit and Peach Jam!
Visit Sorrento, enjoy the food, Learn Italian at Sant’Anna and discover the secrets of Olga’s Peach Jam!
Enjoy the taste of fresh peaches all year long with our delicious Peach Jam recipe. Olga’s grandmother step-by-step photo instructions will show you just how easy it is to “save summer in a jar” with local peaches fresh from the orchard. Spread this jam on a hot biscuit or some buttered toast and just step back into summer with every bite. Canning jam is easier than you think, and this is a simple and easy recipe perfect for anyone to try.
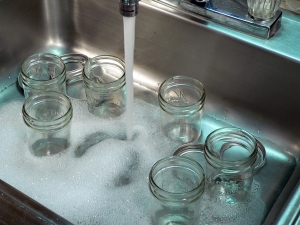
Let’s begin by getting everything ready and setup to process our jam. Gather your jars and the bands for the tops of the jars. Place them in the sink with some hot, soapy water, and give them a good scrubbing. Jars and bands are reusable but you’ll always need new lids for anything you can. Even if you’re using new jars, check them for chips and cracks, and make sure they are in good condition. Wash them good inside and out.
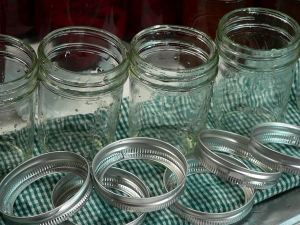
Rinse the jars and bands and set them aside for the moment.
You’ll also need to setup your stove. This is my typical setup as seen in most all of my “Canning 101” recipes. On the back left is the smaller pot I use to warm up my lids and bands. More on that later. On the back right is a somewhat larger pot that I keep filled with just water. I like to keep extra hot water in that pot so I can add it to the canning pot as needed. On the front left is the pot that I normally use to cook my jams and jellies in. Then, that big pot on the right is the canner itself. My canner is enamelware, but any large stockpot will pretty much work. I also have a rack to hold the jars that will fit inside.
You’ll also need to setup your stove. This is my typical setup as seen in most all of my “Canning 101” recipes. On the back left is the smaller pot I use to warm up my lids and bands. More on that later. On the back right is a somewhat larger pot that I keep filled with just water. I like to keep extra hot water in that pot so I can add it to the canning pot as needed. On the front left is the pot that I normally use to cook my jams and jellies in. Then, that big pot on the right is the canner itself. My canner is enamelware, but any large stockpot will pretty much work. I also have a rack to hold the jars that will fit inside.
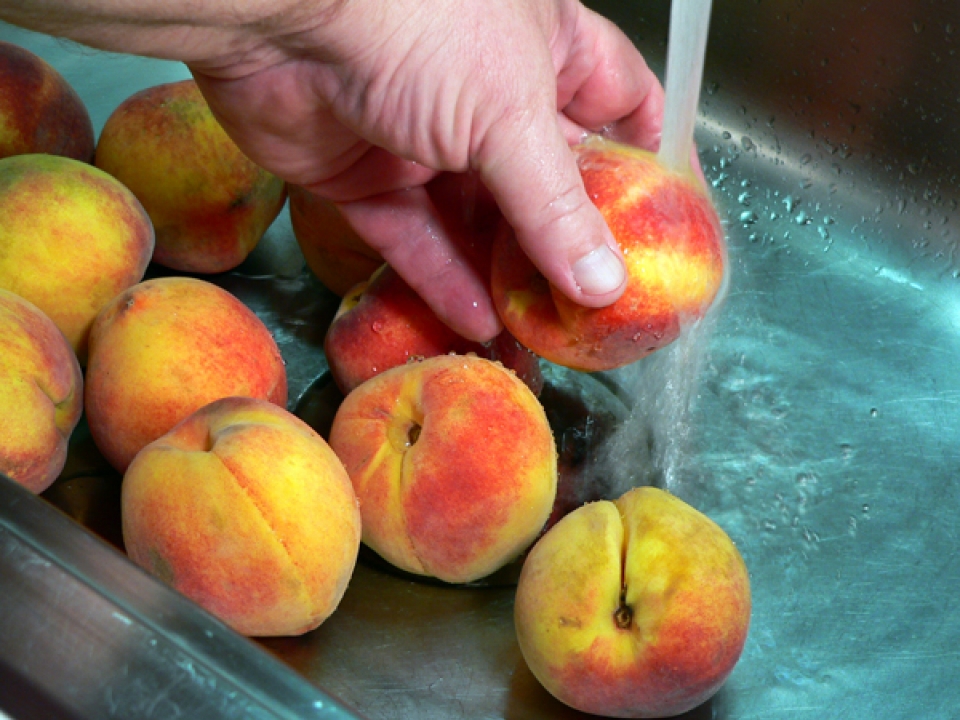
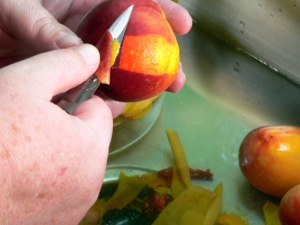
Remove the skins from the peaches. Depending on the peaches, the skins may just pretty much slip off right in your hand. Or, take a paring knife and grab a piece of the skin and easily peel it away. Remove the skin from all of the peaches and cut them in pieces.
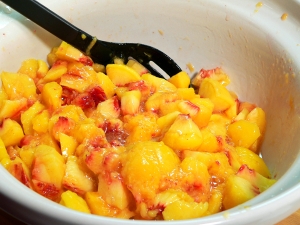
Take a spoon and gently toss the peaches around to coat them all with the lemon juice.
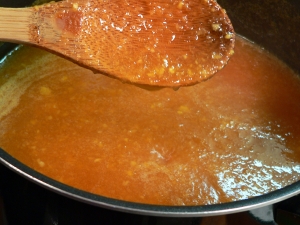
Add in the sugar and to cook down until it thickens. It’s really easy to walk away and let it burn. I know you don’t want that to happen. Just let it continue to cook and keep stirring until it starts to thicken.
Add in the sugar and to cook down until it thickens. It’s really easy to walk away and let it burn. I know you don’t want that to happen. Just let it continue to cook and keep stirring until it starts to thicken.
There’s a lot that could be said at this point about making the jam. You don’t want to scorch or burn it but, it does need to thicken up a good bit. You can see this happen by lifting the spoon about 12 inches up out of the pot and letting the syrup drip off the spoon. Start doing this when it thickens up a bit and continue to do it to watch the progress it’s making. Soon, you’ll start to notice that it’s not running off the spoon as fast as when you first started. When two drops of the jam sheet together as you drip it from the spoon, it’s ready to jar up. If you scoop up a spoonful, it should also mound up a bit on your spoon
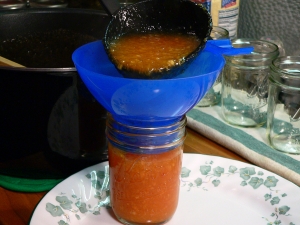
Now comes the fun part….filling the jars. Remove the peach jam from the stove, skim off any foam and discard it…if you have any. Pull a plate up along side the sauce pot and place one of the warm jars from the canner in the plate.
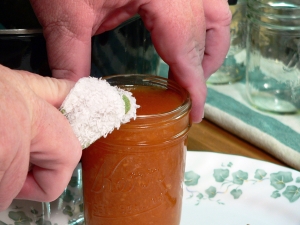
Grab a clean damp cloth and carefully wipe off the thread area of the outside top of each jar. Then, make sure you wipe carefully across the top of each jar. You need to remove any food particles that might have dripped onto the jar as they could prevent a proper seal when the lid comes into contact with the jar surface. Caution though…the jars are hot to the touch.
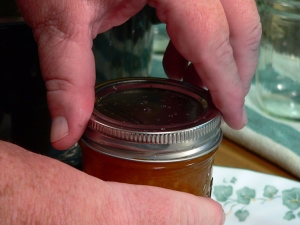
Use the magnetic wand to lift one of the jar bands out of it’s warm water. Give it a little shake to remove excess water then, carefully center it over the top of the lid. Screw it down lightly, making sure it’s going on straight and even.
Finger tight. All the canning recipes say to tighten the band down just finger tight. That means, just snug it down to the top without using any extra force. Don’t give it all you’ve got to get it tight. Just a gentle snug down and it’s good to go.
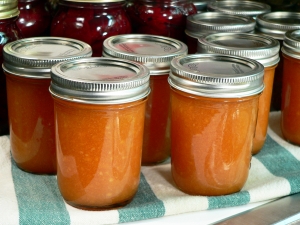
Repeat this process until all the jars are filled. As I fill one jar, I sit it on another towel until I get them all filled.
The jars need to be placed in a cool dark place where they can be safely kept for a year or even longer. It’s best to not sit another jar on top of them. Even though the jar may be sealed at the present, sometimes, things happen that cause the lid to loosen and pop open. If that should happen, you would see it and know NOT to use that jar. Something has caused a problem and the food has spoiled and caused a build up of gasses that has popped the lid off. Hopefully that never happens but you need to know about watching for such things.
So….wasn’t that pretty easy? It gets easier each time you go through the process. Well, at least it’s not as trying to your nerves after the first time or two. The whole process is pretty much the same each time you make jams or jellies. You’ll just build your confidence more as you continue to work with various fruits and recipes. Then, when winter hits with snow on the ground, pop open a jar of your home made Peach Jam and enjoy a little bit of summer all over again.
Enjoy!!!
Verifica il tuo italiano
Per favore mandalo poi a info@santannainstitute.comSTUDIAMO L'ITALIANO
LINGUE STRANIERE
Studia le Lingue da noi!
Sede legale: Viale dei Mareschi, 15 - 10051 - Avigliana (TO) Italy
Sede operativa: Via Marina Grande, 16 - 80067 - Sorrento (NA) Italy
Capitale versato: € 100.000,00 I.V. REA: TO-908649
P.IVA 07631160012
Tel.: +39 081.807.55.99 | +39 081.878.44.70
Fax: +39 081.532.41.40
Responsabile Protezione dei Dati: privacy@ilmed.it

